Boo-tiful Halloween Nail Designs
We may earn a commission for purchases made using our links. Please see our disclosure to learn more.
Halloween is the perfect time to give your nails a seasonal touch. A few playful details—like a little ghost or a delicate web—can bring a festive feel without changing your whole look. You don’t need long nails or salon-level skills, either. Many eye-catching designs are made with simple dots, fine lines, and a handful of familiar colors. Here are ten Halloween nail designs, plus easy techniques and products to help you recreate them.
10 Boo-tiful Halloween Nail Designs to Try
1. Cute Ghost Nails
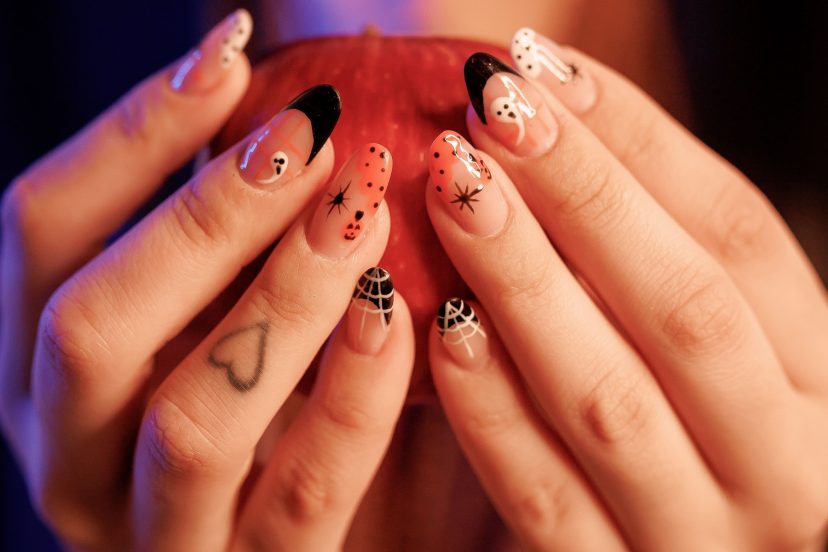
Little white ghosts are among the easiest Halloween nail designs to recreate.
Begin with a base color of soft nude, light pink, or classic black. Create tiny ghost figures with white polish and give each one a pair of black eyes using a dotting tool. You can give each ghost a different expression for extra personality.
This cheerful design looks especially adorable on short, rounded nails.
2. Classic Pumpkin Nails
Nothing captures Halloween quite like a glowing jack-o’-lantern.
Paint your nails orange and add tiny black triangles for the eyes and nose. Finish with a crooked smile or green stem.
For something more subtle, paint only one pumpkin and keep the remaining nails a solid autumn shade.
Burnt orange creates a softer look than bright neon pumpkin colors.
3. Spiderweb French Tips
Spiderweb French tips offer a stylish alternative to traditional Halloween artwork.
Apply a translucent nude polish and finish the tips in black. From one corner, paint delicate lines and join them with small, curved strokes to form a spiderweb pattern.
Use a thin detailing brush for better precision when painting intricate lines.
Try silver webs over black tips for a dramatic evening manicure.
4. Vampire Blood Drip Nails
Blood-drip nails deliver the perfect combination of spooky and glamorous.
Choose a neutral nude or creamy white polish as your background color. Add deep red polish along the tips, then use a dotting tool to extend a few uneven drops downward.
Keep the drips different lengths for a more natural effect.
A glossy top coat gives the finished design a striking, freshly painted appearance.
5. Midnight Bat Nails
Tiny bat silhouettes look mysterious without making your manicure overly busy.
Choose a lavender, gray, or pale purple background. Draw small black bats using curved wings and a tiny central body.
You can also use bat-shaped decals if hand-painting feels difficult.
Add a silver crescent moon to one nail for a beautiful nighttime theme.
6. Black Cat Accent Nails
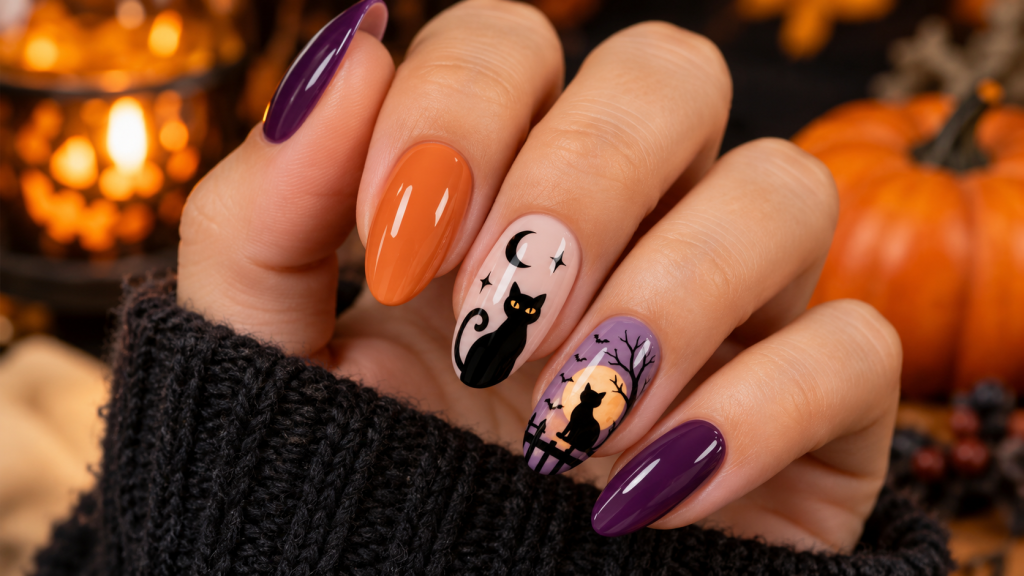
Black cats make adorable Halloween nail art, especially when paired with warm orange or purple polish.
Paint one nail black and add pointed ears, bright eyes, and delicate whiskers.
Another option is to paint a miniature black cat silhouette over a light-colored base.
Keep the other nails simple so your little feline becomes the main attraction.
7. Candy Corn Color-Block Nails
Candy corn nails bring a playful burst of color to your Halloween manicure.
Divide each nail into three horizontal sections using yellow, orange, and white polish.
Use thin coats and let each section dry before adding the next color.
You can paint every nail or use the striped pattern on two accent nails. A glossy finish completes the candy-inspired appearance.
8. Witchy Chrome Nails
Not every Halloween manicure needs pumpkins or ghosts.
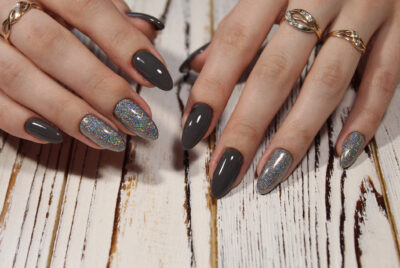
Deep purple, emerald green, and black chrome nails create a sophisticated, witch-inspired look.
Choose a metallic polish for a simple version or use a compatible chrome powder system for a reflective finish.
Tiny stars, moons, or metallic accents add extra character without overwhelming the design.
9. Frankenstein Stitch Nails
Frankenstein-inspired nails are fun, recognizable, and surprisingly beginner-friendly.
Almond and coffin nail shapes are especially suited to this design. Paint short black lines across the nails, then add smaller crossing marks to resemble stitches.
You can also create a monster face with oversized eyes and a stitched mouth.
A matte top coat gives this playful design a distinctive cartoon appearance.
10. Gothic Skull and Charm Nails
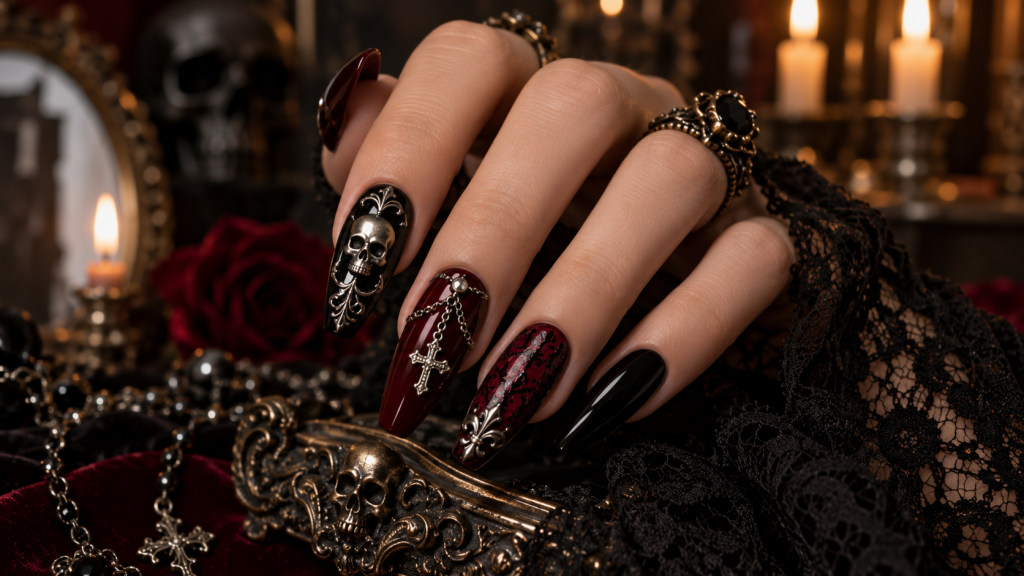
For something darker, combine glossy black polish with small silver skulls, crosses, or gothic patterns.
Keep the decorations on one or two accent nails to avoid a crowded appearance.
If you enjoy raised details, explore different nail charms and decorative accents to give your Halloween manicure more texture and personality.
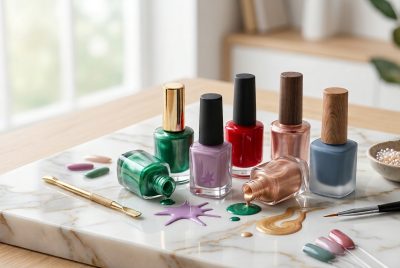
Begin with a vibrant green polish to create the foundation for your design.
Easy Halloween Nail Art Tutorial for Beginners
You don’t need expensive equipment to create simple Halloween nails at home. Begin with a clean workspace, a few polish colors, and basic detailing tools.
Step 1: Get your nails ready. Take off any existing polish, shape your nails with a file, and gently remove excess oil from the nail surface. Avoid cutting your cuticles.
Step 2: Apply your base coat. Choose a protective base coat that works with your polish. Let the product dry for the amount of time recommended on its packaging.
Step 3: Paint your background. Apply one or two thin coats of your chosen Halloween color, allowing enough drying time between layers.
Step 4: Add the artwork. Use a dotting tool for ghost eyes, pumpkins, and blood drops. A thin brush works better for spiderwebs and delicate lines.
Step 5: Seal your manicure. Once the artwork has dried sufficiently, apply a compatible top coat using light strokes to avoid smearing.
Beginner tip: Practice your design on paper or a spare nail tip first. Simple shapes usually look better than overly complicated artwork.
Tips to Make Your Halloween Manicure Last Longer
A beautiful manicure deserves proper care. Small changes to your routine can help reduce early chipping and peeling.
- Build up the color with several light coats rather than applying one heavy layer.
- Avoid painting directly onto your skin or cuticles.
- Protect your manicure by wearing household gloves when cleaning or doing the dishes.
- Keep your nails and the skin around them hydrated with regular moisturizing.
- Take off nail polish carefully instead of picking or scraping it away.
If you prefer gel nail designs, follow the dermatologists’ guidance on gel manicures. The American Academy of Dermatology recommends protecting your hands from curing-lamp UV exposure and avoiding picking at gel polish.
The FDA also provides nail product safety guidance, including advice about ventilation, ingredient warnings, and possible allergic reactions.
Stop using any product that causes irritation, swelling, or discomfort.
5 Must-Have Products for a Spooktacular Halloween
You can recreate many Halloween designs with a few reliable basics. These five products cover coloring, detailing, decorating, and finishing.
1. OPI Nail Lacquer – Black Onyx – This classic black nail polish works beautifully for gothic manicures, bat silhouettes, and spiderweb details. Its dark color also provides a strong background for white ghosts and metallic decorations.
2. OPI Nail Lacquer – My Italian Is a Little Rusty – This warm, rusty-orange polish suits pumpkin-inspired manicures and understated autumn designs. It’s a lovely alternative to bright orange when you want something wearable beyond Halloween night.
3. Beetles 31-Piece Nail Art Brush and Dotting Tool Set – This multipiece set includes detailing brushes and dotting tools for creating small shapes, lines, and patterns. It’s particularly useful for spiderwebs, ghost faces, stitches, and other handmade decorations.
4. IDDFEVE Halloween Nail Art Stickers – These self-adhesive Halloween decals offer an easier alternative to painting every detail by hand. They’re useful for adding seasonal accents to a simple manicure, particularly when you’re short on time.
5. Seche Vite Dry Fast Top Coat – A clear finishing coat helps protect your completed artwork and creates a smooth, glossy appearance. This fast-drying option works with traditional nail lacquer and is useful for finishing detailed manicures.
Conclusion
A Halloween manicure should be just as fun to create as it is to wear. Cute ghosts and pumpkin accents add a playful touch, while spiderweb French tips, blood drips, and dark chrome finishes offer a bolder look. Choose a design that matches your style and skill level. Nail stickers make detailed artwork easier, while simple tools let you experiment with your own ideas. Proper nail preparation and a good top coat will also help your manicure last longer. With these Halloween nail designs, a few creative details can turn an everyday manicure into something festive and eye-catching.
FAQs
1. What are the easiest Halloween nail designs for beginners?
Ghosts, pumpkins, polka dots, and blood-drip tips are excellent beginner choices. They use simple shapes and require only basic tools such as dotting pens or toothpicks.
2. What are the most popular nail colors for Halloween?
Black, orange, purple, green, and white are traditional shades that capture the Halloween spirit. Burgundy, silver, and dark red also work beautifully for elegant or gothic manicures.
3. Do Halloween nail designs look good on shorter nails?
Absolutely. Short nails look great with small ghost faces, miniature pumpkins, black French tips, and single accent designs. You don’t need long extensions for festive nail art.
4. How long can you expect a Halloween manicure to last?
Traditional polish often lasts several days to around a week, depending on preparation and daily activities. Gel manicures may last longer, but proper application and gentle removal matter.
5. Can I create Halloween nails without professional tools?
Yes. Toothpicks, bobby pins, and small brushes can help create simple patterns. Nail stickers and ready-made decorations also make it easier to achieve detailed designs without advanced painting skills.