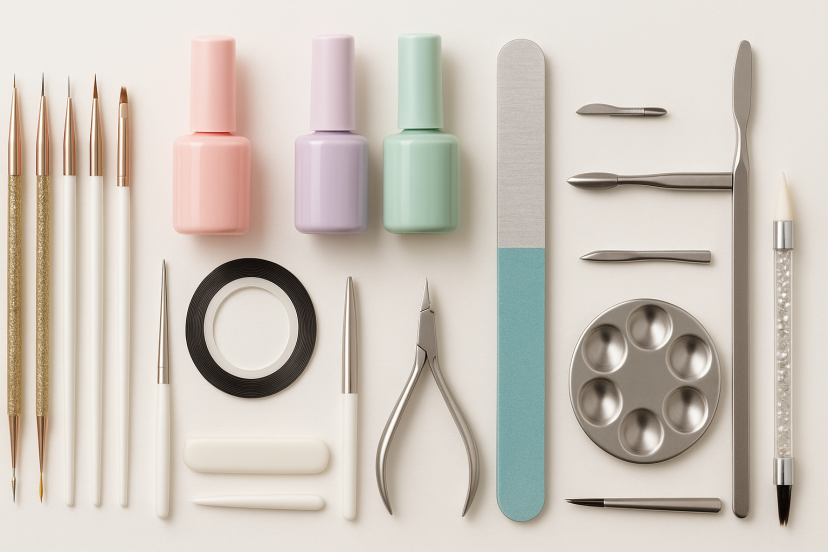
10 Essential Tools for Nail Art Beginners
We may earn a commission for purchases made using our links. Please see our disclosure to learn more.
Stepping into the world of nail design is both exciting and a little overwhelming, especially when you’re just beginning. With so many colors, shapes, and techniques to explore, having the right nail art tools can make all the difference in how quickly your skills grow and how confident you feel. The tools you choose don’t just help you create cleaner lines and smoother finishes — they also make the entire learning process more fun and less frustrating.
Great nail art isn’t about natural talent; it’s about practice, good preparation, and using tools that set you up for success. Whether you’re experimenting with simple dots or trying your first detailed pattern, the right tools give you control, precision, and consistency. This guide breaks down the essentials every beginner should start with, so you can build a kit that supports your creativity from day one.
1. Dual-Ended Dotting Tools
Dotting tools are essential for creating dots, hearts, flowers, and controlled circular shapes. Because each tool has two tip sizes, you can experiment without switching tools constantly. They’re incredibly easy to learn and help beginners practice hand stability and spacing.
Pro tip: Use slightly thicker polish. Thin polish spreads too quickly and creates uneven shapes.
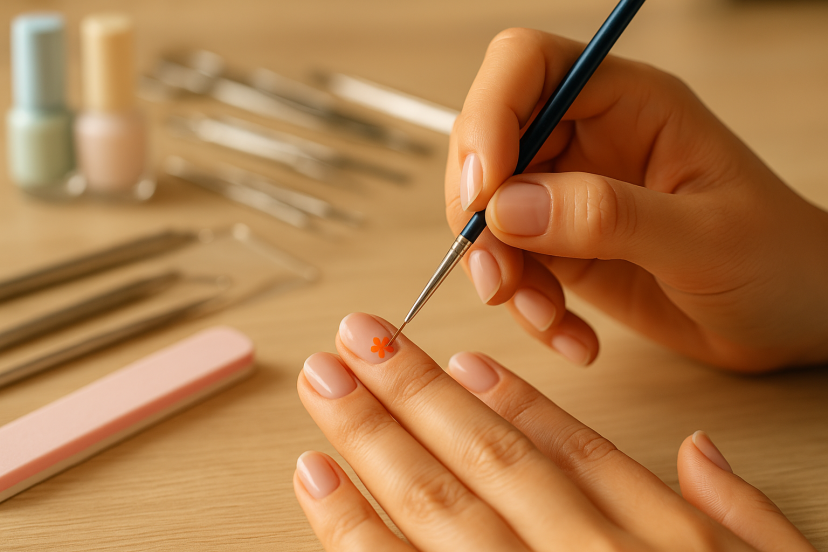
2. Precision Nail Art Brushes
If you want clean lines, soft gradients, or detailed artwork, precision brushes are a must. Line brushes help you draw ultra-thin stripes, while flat brushes make gradients and flower petals easier to master.
A good beginner set usually includes:
- Thin detailing brushes
- Striping brushes
- Short liners
- Flat shaders
- Fan brushes
Wash your brushes with acetone or a gentle cleanser after each use to avoid clumping.
3. Nail Striping Tape for Clean Lines
Striping tape is a lifesaver for beginners who want sharp geometric lines. You place the tape on dry polish, paint over it, then peel it away to reveal clean edges that look salon-perfect.
For best results, fully dry or cure your base layer before applying tape. This prevents peeling and helps your design stay crisp.
4. High-Quality Nail Files and Buffers
One thing beginners often overlook is nail prep. The right file and buffer make a massive difference in how smooth your polish looks.
Files (100–180 grit) shape your nails.
Buffers (240 grit and higher) smooth the surface, helping gel polish adhere evenly.
When your nail surface is even, your nail art looks cleaner and lasts longer.
5. Cuticle Pusher and Nippers
Healthy cuticles give your nails a polished, professional look. Use a cuticle pusher to gently lift dead skin away from the nail plate. Then follow with nippers to trim hangnails or rough edges.
Take your time. Over-trimming can cause irritation, so gentle pressure is key.
6. Nail Art Rhinestone Picker and Wax Pencil
If you love rhinestones, pearls, and tiny 3D decorations, a wax pencil or gem picker is essential. These tools let you pick up embellishments without smudging your polish.
Use a strong rhinestone gel to secure your gems so they stay put for days.
7. UV/LED Gel Lamp for Curing Designs
A high-quality gel lamp ensures proper curing. Without solid curing, your designs may peel, wrinkle, or develop bubbles.
Look for:
- 48W or higher
- Timer settings
- Auto-sensor
- Even curing distribution
A reliable lamp can instantly elevate your nail art quality.
8. Nail Palette and Mixing Tray
A mixing tray helps you blend colors, thin out gel, or test designs before applying them to your nails. It’s an underrated tool that gives you creative freedom and helps you practice shading, gradients, and abstract art.
9. Cleanup Brush for Perfect Edges
A cleanup brush is the secret behind crisp, clean polish application. Simply dip a small angled brush into acetone and run it along your cuticle line to fix any smudges.
For beginners, this tool can completely transform the final look of your manicure.
10. Press-On Nail Sets for Practice and Quick Looks
Press-ons are perfect for practice because they give you a smooth, uniform surface every time. You can practice multiple designs without worrying about mistakes on your natural nails.
They’re also ideal for quick transformations, whether you’re learning or simply don’t want to commit to a certain shape.
Nail Prep 101: Creating the Perfect Canvas Before You Start
Before you pick up a brush or dotting tool, great nail art begins with proper nail prep. Many beginners skip this step, but it’s the foundation of a long-lasting, smooth, and polished manicure. When your nails are prepped correctly, your polish applies evenly, your designs look cleaner, and your nails stay chip-free for much longer.
Start by using a gentle file to shape your nails to your liking. Choose a shape that feels comfortable and complements your natural nail line. Next, buff the nail surface lightly to smooth ridges and remove shine — this helps polish and gel adhere better. Follow with a cuticle pusher to create a clean, open nail plate area. Avoid trimming too aggressively; light pressure is all you need.
Finally, cleanse your nails with alcohol or a nail dehydrator to remove oils. Even invisible residue can affect how well your nail art tools work. When your nails are clean, smooth, and properly prepped, every design becomes easier to apply, and your finished look appears more professional.
Simple Nail Art Techniques Every Beginner Should Learn First
Once your tools are ready, it’s time to learn a few beginner-friendly techniques that instantly improve your nail art. These fundamental skills help you master control, spacing, and line work — all essential for clean, polished designs.
Dotting
Dotting tools are perfect for creating basic shapes like polka dots, hearts, and flower petals. Dip your tool lightly into polish, then touch it to the nail with gentle pressure. Practicing rows of dots helps you improve spacing and consistency.
Striping
Using a thin liner brush, dip gently into polish and drag the brush in a smooth motion across the nail. Striping is ideal for minimal designs, French tips, plaid patterns, and geometric lines. Steady your hand by resting your pinky finger on the table.
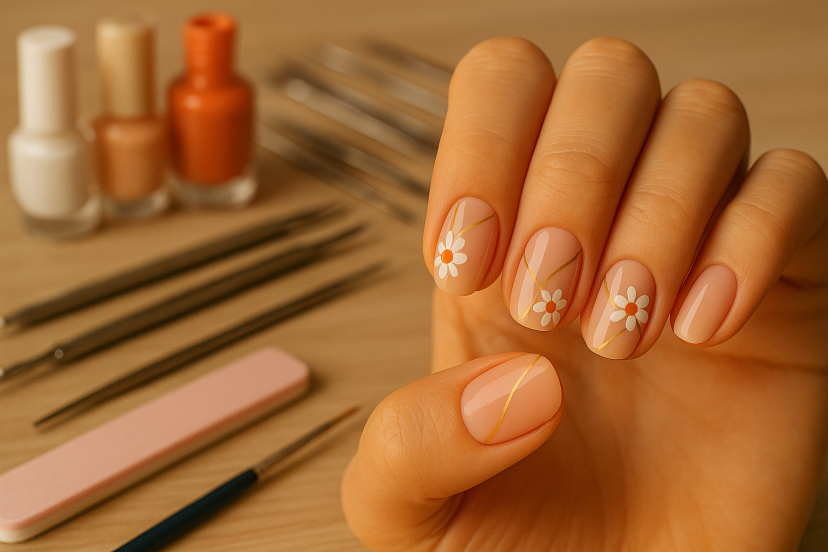
Outlining
Outlining adds definition and dimension to even the simplest designs. Use a detail brush to draw thin borders around shapes or color blocks. This technique instantly makes your art look refined and intentional.
Color Blocking
This technique uses striping tape or freehand lines to divide the nail into sections. Fill each section with a different color to create bold, stylish patterns. It’s one of the easiest ways to achieve a modern look with minimal effort.
Mastering these techniques builds confidence and sets the foundation for more advanced designs in the future. With steady practice, your nail art tools will feel like an extension of your creativity.
How Nail Care Supports Emotional Well-Being
Nail art may seem like a hobby, but research shows it can positively impact your emotional health. When you combine creativity with self-care, the benefits go well beyond pretty colors.
Nail Care Can Boost Positive Emotions
A 2023 study published in Frontiers in Psychology found that receiving nail care increased positive emotions, relaxation, and overall emotional vitality. Participants reported feeling refreshed, confident, and uplifted after having their nails done.
This reinforces an important message for beginners: practicing nail art isn’t just about skill-building — it’s also an opportunity to slow down, express yourself, and elevate your mood.
Applying Nail Color Can Reduce Anxiety
In a 2022 study, researchers discovered that applying nail polish led to reduced anxiety levels and a noticeable improvement in emotional state. Participants felt more satisfied with their appearance and reported experiencing a calming effect after polishing their nails.
These studies show that nail care has benefits beyond aesthetics. Using your tools to create something beautiful can help you unwind, feel more centered, and enjoy a small but meaningful boost in confidence.
Final Thoughts
Starting with the right nail art tools makes a world of difference. They help you practice with confidence, create cleaner designs, and enjoy nail art as both a creative outlet and a form of self-care. Whether you’re practicing on press-ons or your natural nails, consistency and good tools are the foundation of every stunning manicure. Keep trying new techniques, give yourself time to grow, and above all — have fun with it!
FAQs
1. What tools do I need to start nail art at home?
Begin with dotting tools, brushes, striping tape, files, a cuticle pusher, a cleanup brush, and a curing lamp if using gel.
2. Are beginner nail art tools expensive?
Not at all. Many quality beginner sets are affordable and offer everything you need to get started.
3. Can I practice designs on press-on nails?
Yes! Press-ons offer a smooth canvas and let you practice without damaging your natural nails.
4. How do I maintain my nail art tools?
Clean brushes with acetone, store tools in a dry place, and replace files regularly to avoid rough application.
5. Which tool helps beginners improve the fastest?
A detail brush set. Clean lines and controlled strokes elevate your nail art instantly.