Foil Nail Art: 10 Designs You Can Do at Home
We may earn a commission for purchases made using our links. Please see our disclosure to learn more.
Foil nail art is one of the easiest ways to create bold, high-impact nail designs at home. With the right prep and technique, foil can transform simple polish into metallic accents, marble effects, or full statement nails—no salon visit required. This guide breaks down what foil nail art is, how to apply it correctly, and 10 designs you can realistically recreate, even if you’re new to nail art.
What Is Foil Nail Art and Why Is It Trending?
Foil nail art uses ultra-thin metallic or patterned sheets that transfer onto the nail using a special adhesive or gel layer. When pressed and lifted correctly, the foil leaves behind stunning reflective designs.
So why is foil nail art everywhere right now?
First, it delivers instant impact. A single foil accent can elevate a simple manicure. Second, it’s versatile. You can go bold, minimal, glossy, or matte using the same technique. Finally, foil nail art works on natural nails, gel, and acrylics, making it accessible for beginners and experienced nail lovers alike.
What You Need Before You Start (Beginner-Friendly Prep Guide)
Before diving into designs, proper prep matters more than most people realize. Good prep improves foil transfer and helps your manicure last longer.
Base Prep That Makes or Breaks Foil Nail Art
Start with clean, dry nails. Remove oils using nail cleanser or alcohol, then gently buff the surface to remove shine. Buff lightly and only as needed, since excessive filing can thin and weaken the natural nail.
Apply a base coat and let it fully dry or cure. Smooth bases help foil adhere evenly and prevent patchy transfers.
Foil Adhesive vs Gel: What’s Better?
Foil adhesive dries to a tacky finish and gives beginners more control. Gel polish offers longer wear but requires a UV or LED lamp.
If you’re just starting, adhesive is easier to manage. As you gain confidence, gel opens the door to advanced foil designs. Having the right nail art tools also makes a noticeable difference in how clean and precise your results look.
10 Stunning Foil Nail Art Designs
1. Minimal Gold Accent Foil
Apply foil to one nail or along the cuticle line for a clean, modern look. This style works especially well with nude, milky, or sheer pink bases. It’s perfect if you want a subtle design that still feels polished and intentional.
2. Marble Foil Nails
Use a white or nude base, then lightly press silver foil in irregular streaks to mimic natural marble. Avoid symmetry—random placement creates a more realistic stone effect. Finish with a glossy top coat to create a sleek, polished look that enhances the overall design.
3. Galaxy Foil Nail Art
Layer deep shades like black and purple, then scatter holographic foil for a starry effect. Press the foil sparingly to keep the design dimensional rather than flat. This look pairs beautifully with a glossy top coat to enhance depth.
4. Abstract Foil French Tips
Swap traditional white tips for metallic foil applied unevenly across the edge. Let the foil fade or break naturally instead of forming a straight line. This creates a relaxed, artistic take on a classic French manicure.
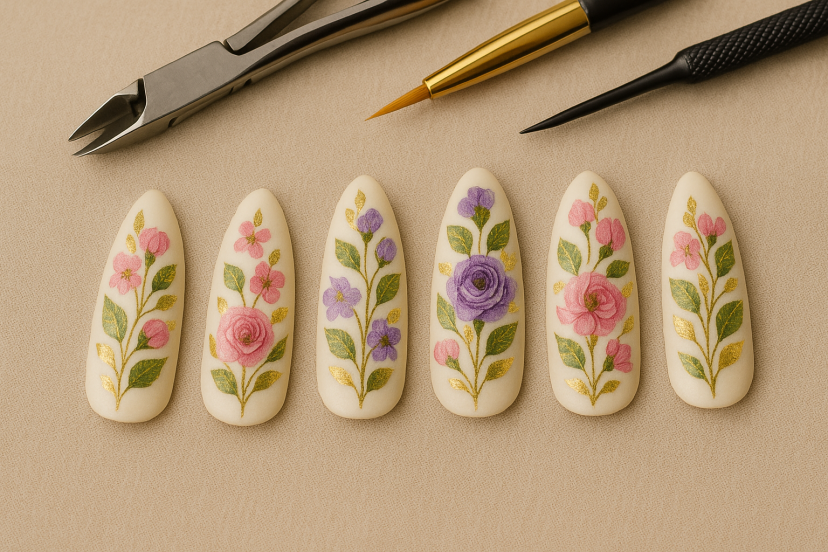
5. Floral Foil Nail Art
Use foil pieces shaped like petals over sheer polish for an elegant floral effect. Soft pinks, creams, or clear bases keep the look light and wearable. This design works well for spring events or special occasions.
6. Matte + Foil Contrast Nails
Pair matte polish with shiny foil accents for high-fashion contrast. The difference in texture makes even simple foil placement stand out. Stick to one or two accent nails to keep the look balanced.
7. Cracked Foil Effect
Press foil lightly and lift quickly to create an intentional cracked texture. This technique works best with metallic or chrome-style foils. It’s an easy way to add edge without detailed artwork.
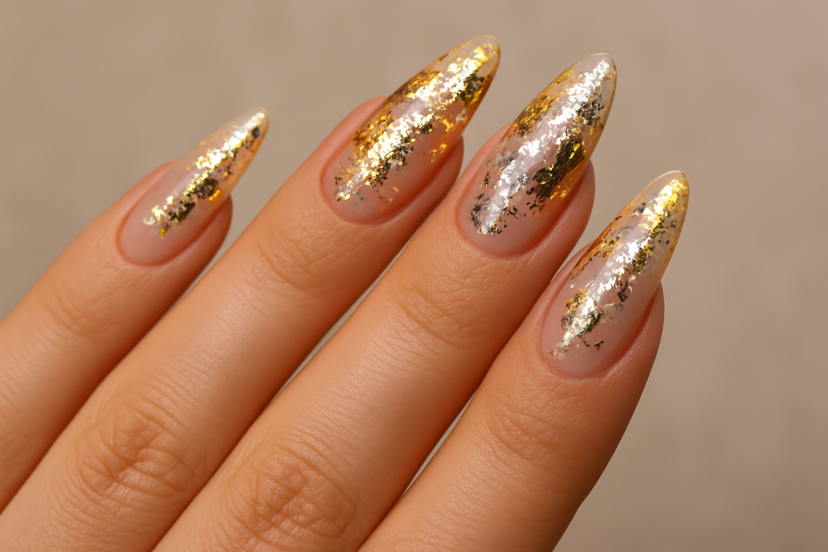
8. Holographic Foil Overlay
Apply holographic foil over a neutral base for subtle shimmer in natural light. The effect shifts depending on movement and lighting, giving your nails dimension. This design is ideal if you want sparkle without heavy glitter.
9. Seasonal Foil Nail Designs
Copper for fall, silver for winter, pastel foils for spring, bold metallics for summer. Switching foil colors with the seasons keeps your manicure fresh and intentional. You can reuse the same technique year-round with different palettes.
10. Full Foil Statement Nails
Cover the entire nail in foil for maximum shine. This bold look works best as an accent nail rather than across all fingers. Keep surrounding nails simple to let the foil take center stage.
Recommended Products
- Nail Foil Transfer Set – Reliable transfers with beginner-friendly designs
- Makartt Nail Foil Glue – Smooth adhesion without streaking
- Beetles Gel Polish Top Coat – Seals foil without dulling shine
- Modelones UV LED Nail Lamp – Fast curing and consistent results
- Professional Nail Art Brush Set – Useful for cleanup and detailed placement
Expert Tips on Foil Transfer Success & Safe Gel Polish Removal
When you’re working with foil nail art, two parts matter most: getting the foil to transfer cleanly and caring for your natural nails afterward. Professional nail experts have shared helpful techniques that align perfectly with the designs and methods we cover in this guide.
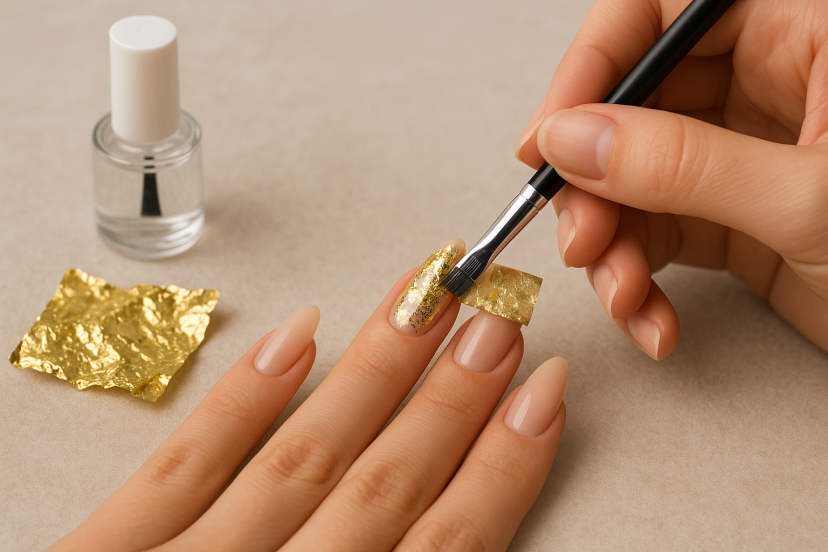
How to Get a Full Nail Foil Transfer Every Time
According to a detailed how-to from NAILS Magazine, there are several key tips for achieving a full foil transfer that looks smooth and complete. While the original article dives into video-based instruction, the core takeaway is simple: foil transfer quality hinges on proper adhesive technique and timing. Skilled nail technicians recommend applying a tacky layer of foil transfer gel and giving it the right moment to develop that “sticky” surface before pressing the foil sheet on. This prevents partial lifts, crackling, or patchy metallic spots on your nails, especially when working with larger foil sheets or intricate designs.
What this means for your at-home creations is that patience and precision pay off. Giving the adhesive just the right amount of tackiness — neither too wet nor too dry — is one of the reasons salon pros can deliver those flawless mirrored or marble foil looks. Incorporating this step into your routine will make designs like full-foil nails and abstract foil French tips easier to achieve without gaps or streaks.
👉 Tip: Always press the foil gently and lift straight off. Avoid dragging sideways, which can wrinkle foil or distort designs.
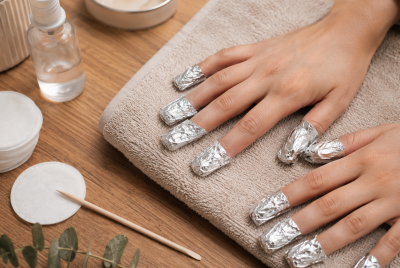
Safe Gel Polish Removal: Dermatologist-Backed Advice
One thing many DIY nail artists overlook is how removal affects long-term nail health — especially with gel polish or gel-based foils. According to the American Academy of Dermatology, improper nail polish removal can cause significant damage to the natural nail plate, leading to peeling, brittleness, and white spots.
Dermatologists recommend:
- Using acetone-soaked cotton with plastic wrap, not metal foil
- Avoiding scraping or picking gel or foil products
- Protecting cuticles with petroleum jelly before soaking
- Taking breaks between gel manicures to allow nail recovery
These habits protect nail strength and create a healthier surface for future foil nail art designs.
Final Thoughts
Foil nail art is a practical way to achieve eye-catching designs without advanced skills or expensive salon appointments. With proper prep, the right adhesive timing, and gentle application, foil can deliver consistent, professional-looking results at home. Whether you prefer subtle accents or bold statement nails, foil nail art offers flexibility, creativity, and strong visual impact with minimal effort.
FAQs
1. Is foil nail art beginner-friendly?
Yes. It’s one of the easiest nail art techniques to learn.
2. Is foil nail art suitable for natural nails?
Absolutely, with proper prep and base coat.
3. Is a UV lamp required when doing foil nail art?
Only if using gel polish. Regular polish and air-dry foil glue don’t need curing.
4. Why isn’t my foil transferring properly?
The adhesive timing is likely off—tacky is key.
5. How do I remove foil nail art safely?
Soak with acetone instead of peeling to protect nail layers.