Beginner’s Guide to Cat Eye Nails + Tools You Need to Get Started
We may earn a commission for purchases made using our links. Please see our disclosure to learn more.
Are you dreaming of shimmering cat eye nails but aren’t quite sure how to achieve the look? It’s your lucky day because this guide will take you step by step through the process! The beautiful magnetic effect looks complicated but if you have the right tools and know how magnetic polish works, you’ll do well. Let’s master the technique and find out which tools are essential. Ready to get started on your new favorite nail trend?
What Are Cat Eye Nails?
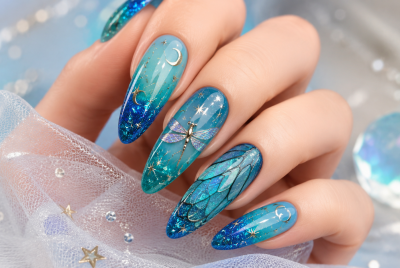
Cat eye nails is a nail art technique that’s achieved using magnetic nail polish. It creates a shimmering line across the nails (that resembles a cat’s eye). This dazzling effect is created with magnetic gel polish, designed to react with a magnet and form mesmerizing patterns that change with the angle and light of the nails! It’s like wearing a tiny piece of art at your fingertips—mystical yet elegant.
Why Choose Cat Eye Nails?
Picture this: your nails gleam like constellations every time they catch the light, drawing compliments from friends and strangers alike. Cat eye nails are the ultimate mix of sophistication and trendiness, perfect for casual brunches or fancy evening galas. They don’t just make your hands look fabulous; they tell a story of creativity and confidence.
Can Newbies Do Their Own Cat Eye Nails?
If the thought of DIY cat eye nails feels a bit intimidating, let me ease your worries—it’s simpler than it looks. Even if you’ve never ventured beyond basic polish, this technique is beginner-friendly as long as you have the right tools. With a little patience and practice, you’ll soon be crafting nail art that turns heads.

Essential Tools for Cat Eye Nails
Before embarking on this artistic journey, gather these must-haves:
- Magnetic Gel Polish
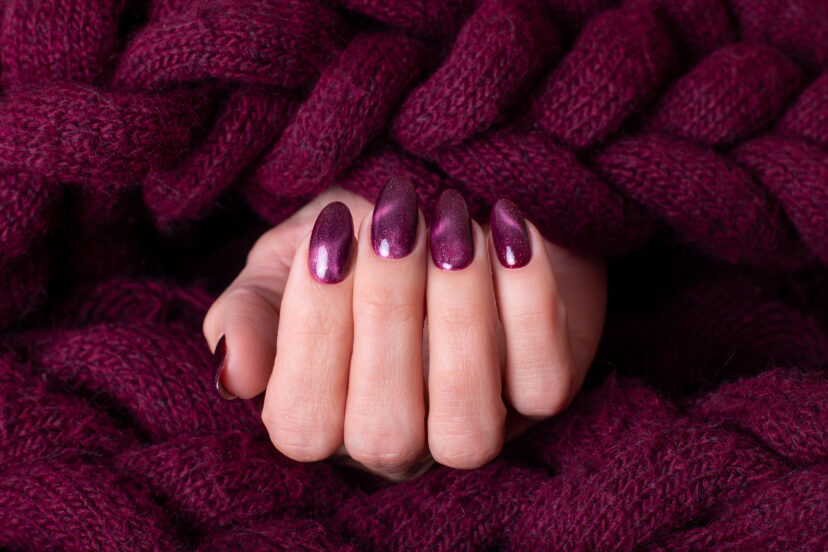
- This is the star of the show! Choose bold, high-pigment shades like black, navy, or burgundy for that signature shimmering effect.
- Nail Magnet Stick
- Essential for creating the iconic cat eye pattern. A dual-ended magnet offers versatility to shape different designs.
- UV/LED Nail Lamp
- A quick and efficient way to cure your gel polish. Look for a compact lamp with multiple timer settings.
- Base and Top Coats
- Protect your nails with a base coat, and finish with a glossy top coat for that perfect, salon-quality look.
- Nail Prep Tools
- A nail file, buffer, and cuticle pusher ensure a smooth, clean canvas for flawless application.
- Lint-Free Wipes
- Remove oils and residue without leaving fibers behind, ensuring a clean surface.
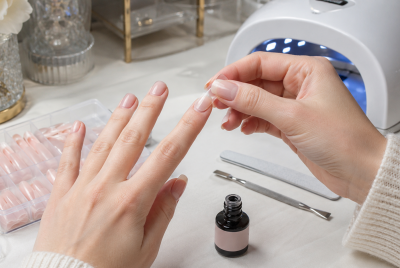
Step 1: Prep Your Nails
Think of this as laying the groundwork for a masterpiece. Clean and shape your nails, buffing out any rough edges for a smooth surface. Gently push back your cuticles to provide a clean base for the design. This preparation is the secret to long-lasting, flawless nails.
Step 2: Put on the Base Coat
A base coat isn’t just a technical step; it’s your nail’s armor. It creates a protective layer that helps the gel polish adhere securely while preventing staining. Take your time to apply an even coat, then cure it under the UV or LED lamp for a few seconds.
Step 3: Apply Magnetic Gel Polish
Now, the magic begins! For each nail, apply a thin, even coat of magnetic gel polish. Don’t fret if it seems unimpressive at first; this is just the foundation. What comes next is where the true artistry unfolds.
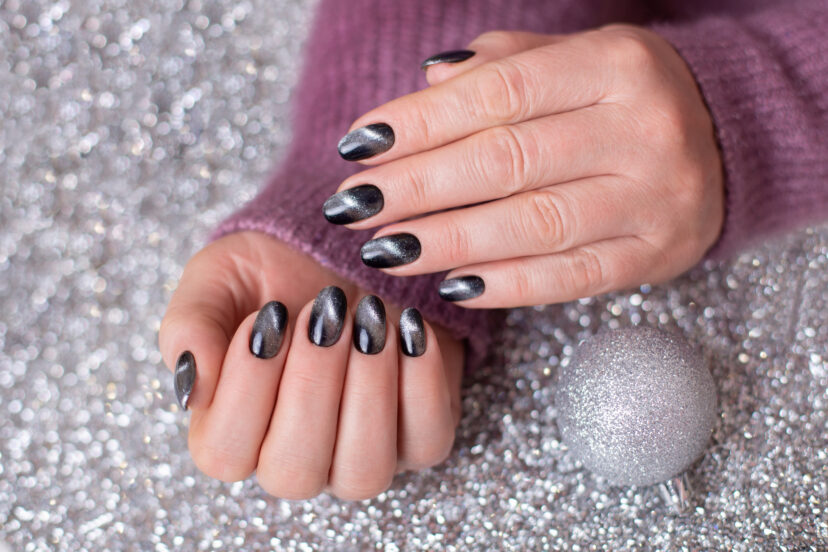
Step 4: Use the Nail Magnet
Hold your nail magnet stick just above the surface—close enough to work its magic, but not so close that it touches the polish. In seconds, you’ll see shimmering waves and lines forming, as if by enchantment. Experiment with angles and positions to craft unique designs, from diagonal lines to a soft halo effect.
Step 5: Cure Under the Lamp
Once satisfied with your design, lock it in with a round under the UV or LED lamp. This step freezes the magnetic particles in place, ensuring your art stays intact. Follow the curing instructions specific to your polish for the best results.
Step 6: Add a Top Coat
A glossy top coat is the grand finale, sealing in your design and enhancing its shine. It’s the equivalent of adding a protective glaze to a painting, preserving its beauty while adding a touch of brilliance. Cure once more, and your masterpiece is complete.
Tips for Perfect Cat Eye Nails
- Experiment Freely: Test different magnets and angles to create distinctive effects.
- Work Methodically: Focus on one nail at a time to maintain precision.
- Use Thin Layers: This prevents smudging and ensures an even cure.
Common Mistakes to Avoid
- Skipping nail prep can lead to chipping or peeling.
- Using regular polish won’t achieve the same magnetic effect.
- Rushing through steps compromises the final look—patience pays off.
Are Cat Eye Nails Durable Enough To Last Long?
When done correctly, cat eye nails can last up to three weeks, maintaining their shimmering beauty. The secret to their longevity lies in meticulous preparation and precise application. Properly buffed and cleaned nails ensure the gel polish adheres securely, while thin, even layers of polish prevent chipping or lifting. Using a high-quality top coat adds an extra layer of protection, preserving the design against everyday wear and tear. Of course, factors like exposure to water and how carefully you handle your nails can also impact their lifespan. Your nails will remain gorgeous for weeks if you take good care of them!
Cat Eye Nail Removal: Is It Possible at Home?
Yes, removing cat eye nails at home is simple and stress-free! Start by gently filing the top layer of the polish to break the seal—this step allows the acetone to penetrate more effectively. Next, put a cotton pad directly on your nail after soaking it in acetone. Wrap each finger snugly in foil to keep the pad in place and wait for 10–15 minutes. When you remove the foil, the polish should appear softened or flaky. Use a cuticle pusher or an orange stick to gently scrape off the polish, taking care not to damage your natural nail. Finish with a nourishing cuticle oil or hand cream to keep your nails healthy and hydrated.
The Science Behind Cat Eye Nails
Magnetic nail polish works its magic through tiny metallic particles that align when exposed to a magnet, creating the mesmerizing patterns seen in cat eye nails. According to an article on SELF, these particles react to the magnetic field, forming unique shapes like lines or swirls. Similarly, Dermatology Times explains how asymmetric, oblong particles in the polish align to create stunning reflective designs, making this nail art both beautiful and scientifically fascinating.
Top Color Choices for Cat Eye Nails
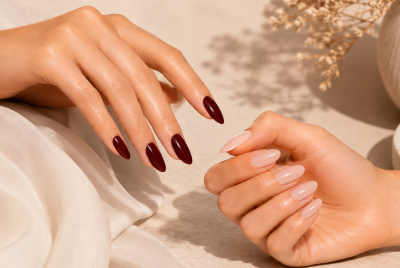
Dark, bold shades like black, navy, and burgundy amplify the shimmering effect, creating an alluring contrast. These colors evoke a sense of mystery and elegance that’s hard to resist. For a playful twist, you can experiment with jewel tones like emerald or amethyst, which add a rich vibrancy to the design. Alternatively, lighter hues like silver or champagne can create a soft, sophisticated glow for those who prefer a subtler effect.
Are Cat Eye Nails Safe?
Yes, they’re perfectly safe when using quality products. If you’re concerned about sensitivity, look for non-toxic gel polishes to keep your nails healthy and happy. Always check the ingredient list to ensure there are no harsh chemicals that could damage your nails or skin. Additionally, proper removal techniques are essential to avoid weakening your natural nails over time.
The Science Behind Cat Eye Nails
The magic lies in the magnetic particles within the gel polish. When exposed to a magnet, these particles align to create dynamic patterns, bringing the design to life. The polish is infused with fine metallic shavings, which respond instantly to the magnet’s pull. It’s like witnessing a miniature art piece being crafted in real time, right at your fingertips.
Creative Designs with Cat Eye Nails
Why settle for the ordinary? Combine multiple colors, swirl patterns, or even incorporate glitter for a design that’s truly one-of-a-kind. The possibilities are endless! You can also try layering different magnetic effects or blending complementary shades for a gradient effect. Feeling adventurous? Add intricate nail art or decals for a bold, statement-making look.
Cat Eye Nails for Special Occasions
Elevate your look by adding rhinestones or sparkly accents for weddings, parties, or festive celebrations. They pair beautifully with the shimmering polish to create a show-stopping effect. Consider coordinating your nails with your outfit or jewelry to tie your whole look together. For holiday events, try incorporating themed designs like snowflakes, stars, or glittery embellishments.
Check this out:
Are Cat Eye Nails Cost-Effective?
DIY cat eye nails are an investment that keeps giving. Once you have the tools, you can create countless manicures at home, saving money without sacrificing style. Over time, you’ll not only save on salon costs but also enjoy the flexibility to experiment with designs whenever you like. Plus, the pride of achieving professional-quality nails on your own is priceless!
Final Thoughts
Cat eye nails offer a delightful mix of simplicity and glamour, perfect for anyone craving a touch of elegance. With the right tools and a dash of creativity, you can create nail art that’s uniquely yours. Whether you’re dressing up for an event or just want a confidence boost, these nails are a fabulous way to express yourself. So why not give it a try and let your nails shine like stars?
FAQs
- Can I do cat eye nails with a regular magnet?
No, you need a specialized nail magnet to create the effect. - Do I need to cure each layer?
Yes, curing each layer under a UV or LED lamp is essential for durability. - How do I clean up mistakes?
Use a clean-up brush dipped in gel cleanser to tidy edges before curing. - Can I mix colors in cat eye nails?
Absolutely! Experiment with two or more colors for a unique design. - What’s the best way to practice?
Start with practice tips or an old nail wheel. It’s a no-pressure way to refine your skills before working on your own nails.