12 Essential Pedicure Tools for Nail Care
We may earn a commission for purchases made using our links. Please see our disclosure to learn more.
A good home pedicure doesn’t require a drawer full of salon equipment. With the right pedicure tools, you can keep your toenails neat, smooth rough skin, and create a clean base for polish without turning the process into an all-afternoon project.
Tool quality matters, though. Dull clippers may crush the nail instead of cutting it, while an overly coarse file can remove more skin than intended. Building a small, reliable kit gives you more control and makes regular foot care much easier.
What to Look for in Pedicure Tools
Choose tools that feel sturdy and comfortable in your hand. Stainless steel works well for clippers, pushers, and nippers because it resists corrosion and is relatively easy to clean. Files and buffers should have an even abrasive surface without loose or sharp edges.
Focus on tools you will actually use and can clean properly. A compact collection of high-quality essentials usually offers better value than a 30-piece kit filled with unfamiliar implements.
If you have diabetes, poor circulation, reduced sensation, an active infection, or a recurring ingrown toenail, speak with a podiatrist before attempting detailed foot care at home.
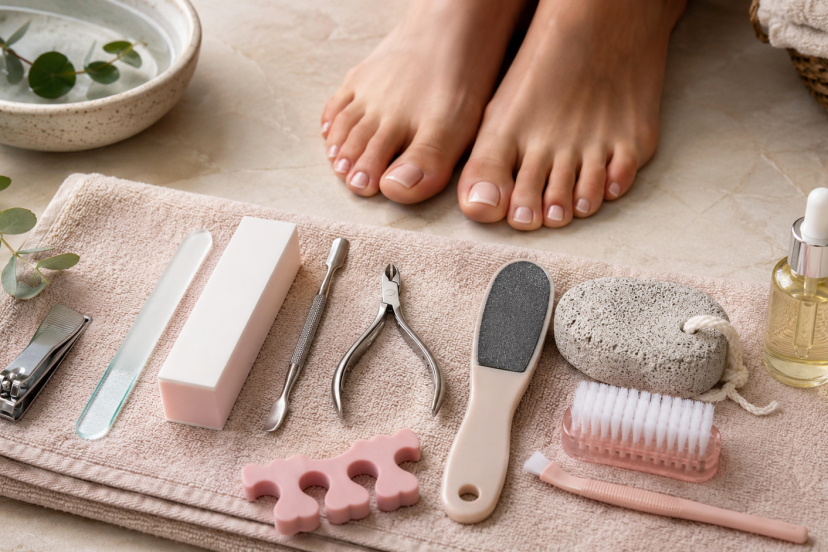
12 Essential Pedicure Tools and How to Use Them
1. Straight-Edge Toenail Clippers
Toenail clippers have wider, stronger jaws than standard fingernail clippers. Look for a straight cutting edge, especially if you frequently experience ingrown nails.
Trim each nail straight across rather than rounding deeply into the corners. The American Podiatric Medical Association’s pedicure guidance recommends using straight-edge toenail clippers because curved trimming can encourage the nail to grow into the surrounding skin.
Avoid cutting nails extremely short. Leave a narrow strip of white at the tip so the skin beneath the nail stays protected.
2. Nail File
A nail file smooths rough edges left behind after clipping. It also lets you refine the shape without taking off too much length at once.
Glass files work well for natural nails because their fine surface offers controlled shaping. Traditional emery boards are affordable and convenient, but you should replace them once they become worn or dirty.
Shape the nail using light strokes that move from each side toward the middle. Aggressive back-and-forth sawing can leave thin nails more prone to splitting. If you prefer a washable option that lasts longer than an emery board, compare some of the best glass nail files before choosing one for your kit.
3. Nail Buffer
A buffer evens out light surface ridges and removes the final roughness along the free edge. It can also give bare nails a soft, natural shine.
Use it sparingly. Heavy or frequent buffing thins the nail plate and may leave your toenails sensitive. A few light strokes every few weeks should be enough for most people.
A multipurpose nail buffer and file set can handle both shaping and surface smoothing without requiring several separate boards.
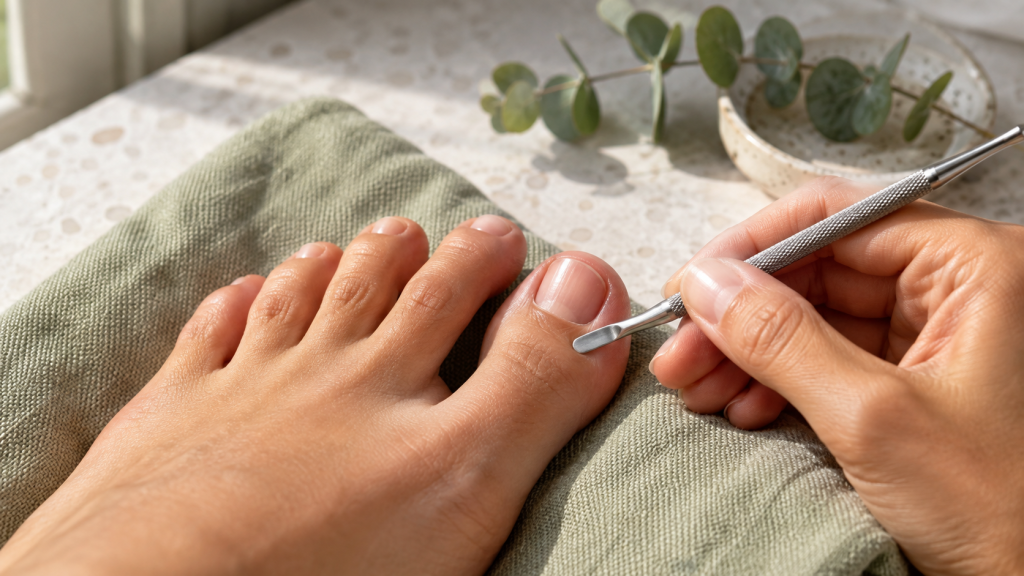
4. Cuticle Pusher
A cuticle pusher tidies the thin layer of dead tissue that grows onto the nail plate. Metal pushers provide precision, while rubber or wooden versions can feel more forgiving for beginners.
After bathing or soaking your feet briefly, use the rounded end to nudge the cuticle back with very light pressure. Stop if the area feels tender.
The cuticle forms part of the nail’s protective barrier. The American Academy of Dermatology’s manicure and pedicure safety advice recommends leaving cuticles alone rather than cutting or forcefully pushing them back, since damage can open the door to infection.
5. Nail Cleaner
A nail cleaner has a narrow, rounded tip that removes visible debris from beneath the free edge. Some cuticle pushers include one on the opposite end.
Move the tool gently and keep it close to the nail tip. Digging deep beneath the nail can separate it from the nail bed and create a space where moisture and microorganisms collect.
A soft nail brush is a safer choice when ordinary soap and water can remove the debris.
6. Cuticle Nippers
Cuticle nippers are small, spring-loaded cutters designed for loose hangnails and clearly detached pieces of dead skin. Their sharp jaws allow a cleaner cut than pulling the skin with your fingers.
They are not meant for removing the entire cuticle. Cut only skin that is already loose, and never use nippers on swollen, painful, or bleeding areas.
Beginners may not need this tool at all. If you include nippers in your kit, reserve them for occasional, precise trimming.
7. Foot File
A foot file smooths dry, thickened skin on the heels and balls of the feet. Options range from fine abrasive paddles to coarse stainless-steel rasps and powered rollers.
Start with a finer surface and use light strokes. Trying to remove an entire callus in one session can make the area sore and may trigger the skin to thicken again.
Never use a foot file on cuts, blisters, cracked areas that are bleeding, or irritated skin. Stop once the surface feels smoother rather than trying to make it completely soft.
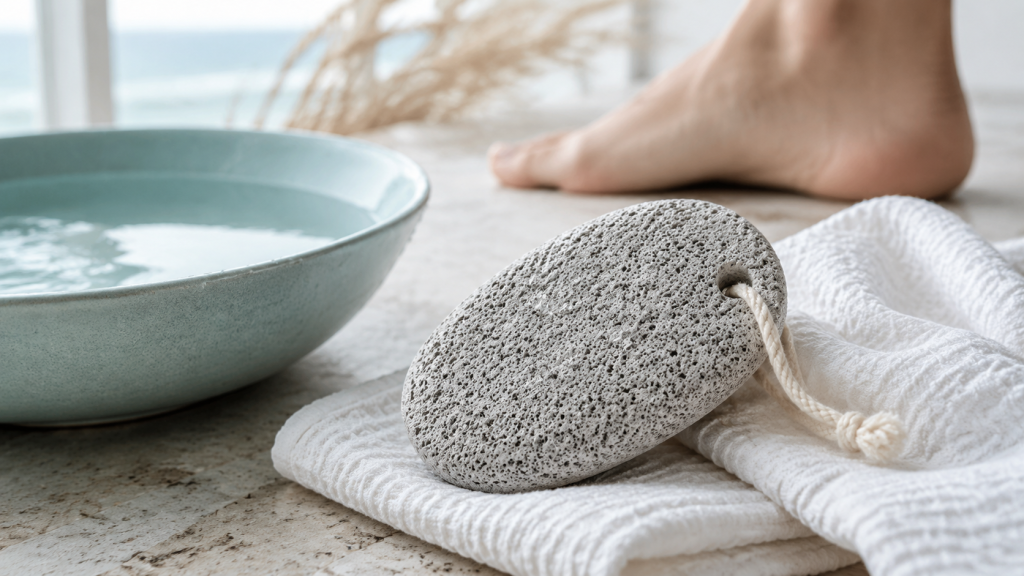
8. Pumice Stone
A pumice stone provides milder exfoliation than many metal foot files. It is useful for maintaining smoother heels between full pedicures.
Soak the stone and your feet first, then rub it over rough skin using light circular movements. Rinse it thoroughly and let it dry in a ventilated place.
Pumice stones can retain moisture and germs, so keep yours for personal use only. Replace the stone if it develops an odor, cracks, or becomes difficult to clean.
9. Toe Separators
Toe separators keep neighboring toes apart while you apply base coat, color, and top coat. They reduce smudging and help you reach the sides of smaller nails.
Foam separators are inexpensive and lightweight. Silicone versions tend to last longer and may feel softer between the toes. Remove them if they cause pressure or numbness.
In a pinch, small rolled pieces of tissue can perform the same job.
10. Nail Brush
A small nail brush clears filing dust and surface debris before polish application. It is also useful for routine cleaning around the nails and toe creases.
Choose soft or medium bristles rather than a stiff brush that scratches the skin. Wash the brush after each pedicure and allow it to dry fully with the bristles facing down or exposed to airflow.
Use a different brush for cleaning your tools so you don’t transfer residue back onto your feet.
11. Polish Cleanup Brush
Even steady hands occasionally place polish on the skin. A small angled cleanup brush dipped lightly in remover can sharpen the line around the cuticle and sidewalls.
Synthetic bristles generally stand up to nail polish remover better than delicate natural hair. Wipe off excess remover before touching the skin so it doesn’t flood the polish.
Clean the brush immediately after use. Dried lacquer can stiffen the bristles and ruin its fine edge.
12. Cuticle Oil
Cuticle oil replaces moisture around the nail after filing, cleaning, and polish removal. It can soften dry skin and make a finished pedicure look more polished.
Apply one small drop around each nail and massage it into the surrounding skin. For ongoing care, use it daily or whenever the cuticles feel dry.
If reducing waste matters to you, consider choosing durable, reusable sustainable nail care tools instead of frequently replacing disposable items.
How to Clean and Store Pedicure Tools
Wash reusable metal tools with soap and water after every use, paying attention to hinges and textured handles. Dry them completely before storage to discourage corrosion and microbial growth.
Follow the manufacturer’s disinfection directions for each product. Porous items such as emery boards, wooden sticks, and some foam separators cannot be reliably disinfected, so treat them as personal, disposable supplies.
Store dry tools in a clean case instead of leaving them loose in a humid bathroom drawer. Never share clippers, files, pumice stones, or cuticle tools, even with family members.
Pedicure Safety Tips
Inspect your feet before beginning. Postpone the pedicure if you notice cuts, blisters, unusual discoloration, swelling, or signs of infection. The EPA warns that microorganisms in foot-spa water can enter through broken skin, so an open wound should never go into a shared or home foot bath.
Keep your approach gentle. Pain, heat, and bleeding are signs to stop, not normal parts of an effective pedicure. Avoid razors and other bladed callus removers, which can cut healthy tissue before you realize it.
If a nail becomes thick, crumbly, discolored, or separates from the nail bed, don’t cover it repeatedly with polish. A dermatologist or podiatrist can determine whether injury, fungus, or another condition is responsible.
Conclusion
The best pedicure tools make nail care simpler, cleaner, and more controlled. Begin with reliable clippers, a fine file, a gentle foot-care tool, and basic polishing accessories rather than buying every implement you see.
Work slowly, clean your equipment after each use, and never force a tool into tender skin. A careful routine will do far more for the appearance of your feet than aggressive cutting, scraping, or buffing.
FAQs
What are the most important pedicure tools for beginners?
Start with straight-edge toenail clippers, a fine nail file, a gentle foot file, a nail brush, toe separators, and cuticle oil. Add specialized tools only after you understand how to use them safely.
Should you soak your feet before using pedicure tools?
A short soak can soften rough skin and make gentle cuticle care easier. However, nails absorb water and become temporarily softer, so let them dry before extensive filing or applying polish.
How often should you replace pedicure tools?
Replace disposable files, wooden sticks, and porous separators when they become worn or dirty. Metal tools can last for years if you clean, dry, and sharpen or replace them when their cutting edges become dull.
Are fingernail clippers suitable for trimming toenails?
Toenail clippers are the better choice. They have wider jaws and usually provide the straight cut that helps reduce pressure at the nail corners. Small fingernail clippers may create a curved or uneven edge.
How often should I give myself a pedicure?
Many people find that every three to six weeks is enough for trimming and shaping. Moisturizing and light heel care can happen more often, depending on how quickly your nails grow and skin becomes dry.