How to Apply Soft Gel Nails at Home
We may earn a commission for purchases made using our links. Please see our disclosure to learn more.
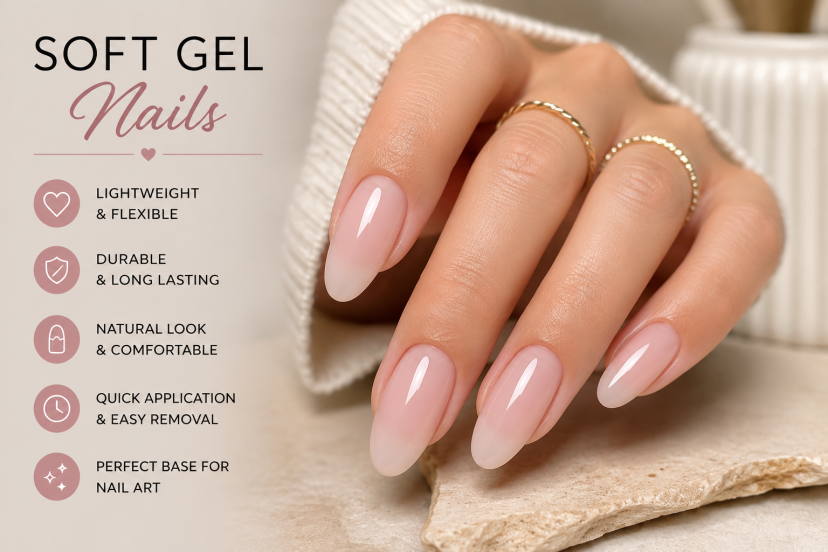
Soft gel nails allow you to easily achieve the length, shape and glossy finish of a salon manicure at home. No need to buy acrylic powder and no need for sculpting skills! The flexible full cover tips are applied with light-cured gel and provide a seamless base for polish, French tips, chrome, or intricate nail art. The whole thing may seem easy when you watch videos on the internet, but you have to be prepared to make it work. Proper sizing, bubble-free placement, a clean application and full curing, all are important. With this perfect guide to applying soft gel nails at home, you’ll be able to get a cleaner finish and longer-lasting wear.
What Are Soft Gel Nails?
Soft gel nail extensions are made using a special pre-shaped tip that fits comfortably over your natural nail, from the cuticle to free edge. Available in almond, square, coffin, oval, stiletto and more. They are typically soften and peeled off with acetone unlike most hard-gel extensions.
Because the shape is already formed, beginners do not need to build an apex from scratch. The result feels light and gives nail art enthusiasts an even canvas.
Keep uncured gel off the skin and follow the curing time for your system.
Supplies You Will Need
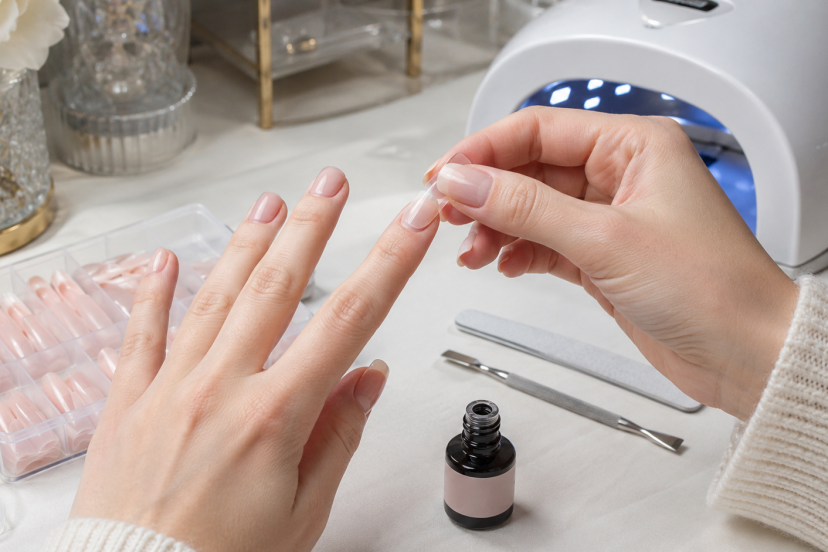
Gather your tools before opening the adhesive:
- Full-cover soft gel tips
- Gel tip adhesive or extend gel
- Compatible LED or UV/LED lamp
- Nail dehydrator and optional acid-free primer
- Cuticle pusher
- 180-grit file and fine buffer
- Lint-free wipes and isopropyl alcohol
- Gel color and top coat
- Small cleanup brush
- Cuticle oil
Products from the same system are often easier to use together. Do not assume every lamp cures every formula correctly.
How to Apply Soft Gel Nails Step by Step
1. Choose the Correct Tip Size
Size every nail before doing any prep. Each tip should cover the natural nail from sidewall to sidewall without force or pinching.
When between sizes, choose the larger tip and file the sides. A small tip may lift early or pinch.
Arrange the tips in finger order before opening the gel.
2. Prepare the Natural Nails
Wash and dry your hands. Push back the cuticles gently, then remove the thin, nonliving tissue attached to the nail plate. Avoid cutting healthy skin.
Trim the free edge and lightly buff away the shine. Aggressive filing can leave nails thin and sore.
Remove the dust, wipe with alcohol, and avoid touching the nail plates. Apply dehydrator and acid-free primer only if your system recommends them.
3. Etch the Inside of Each Tip
The area inside the tip that touches your nail needs texture. Many soft gel tips arrive pre-etched. If yours are smooth, lightly buff the contact area or use the brand’s liquid tip primer.
Etch only the section that will cover the natural nail to improve adhesion.
4. Add the Gel Adhesive
Apply a thin layer of adhesive to the natural nail and cure it first if the instructions call for a base layer. Next, place a small bead of gel inside the tip near its cuticle end.
Too little gel leaves gaps; too much floods the sidewalls. Start with a small bead.
Never cure gel on the skin. A 2024 review of adverse effects from do-it-yourself nail cosmetics found allergic contact dermatitis was the most common reported problem, often linked to methacrylates in gel and adhesives. Clean spills before curing.
5. Place the Tip Without Bubbles
Position the tip near the cuticle at roughly a 45-degree angle, leaving a tiny gap from the skin. Slowly lower it toward the free edge. This motion spreads the gel toward the tip while helping prevent air pockets.
Hold steady pressure and check for bubbles or overflow. Remove the tip and restart if either appears.
6. Flash Cure and Fully Cure
Keep holding the tip while you flash cure it with a small lamp for the time listed by the manufacturer. Flash curing only locks the extension in position.
After attaching all five tips, complete the cure in a compatible full-size lamp. Keep the fingers flat and give the thumb direct light. Aprés likewise instructs users to flash cure the placed tip, followed by a full LED or UV cure.
Do not shorten the recommended time.
7. Refine and Finish the Extensions
File the free edges until the shape looks consistent. If needed, lightly blend the cuticle edge without touching the surrounding skin.
Apply gel color in thin, fully cured coats. Soft gel tips suit chrome, cat-eye designs, French tips, decals, and hand-painted details.
For an easy mismatched look, explore these ideas for wearing a different nail color on each hand.
Seal the design and free edge with top coat. Add cuticle oil after the final cure.
Common Mistakes That Cause Lifting
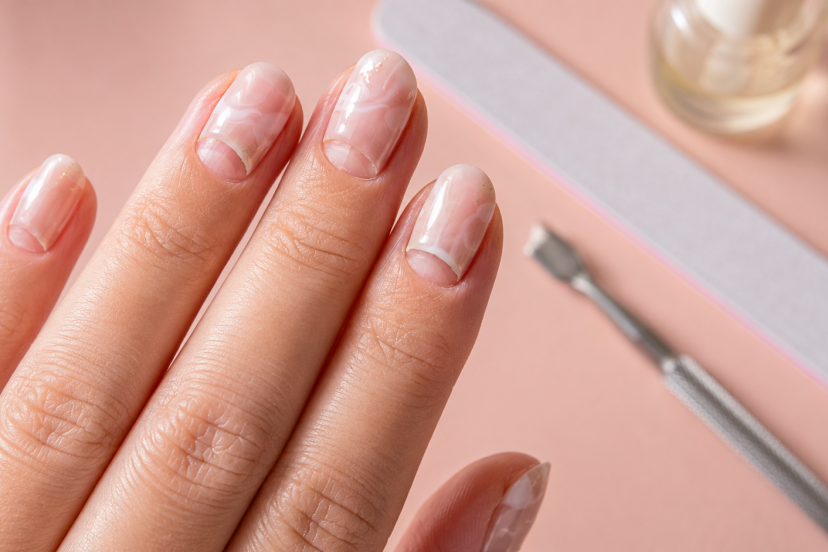
Tips that are too small create sidewall tension, while trapped bubbles weaken the bond. Other common problems include leftover cuticle tissue, oily nail plates, smooth contact areas, and incomplete curing.
Never cure gel on the skin. Remove it first, and stop using the product if itching, swelling, redness, or blisters develop. Also avoid heavy filing and peeling, both of which can thin the natural nail.
How to Remove Soft Gel Nails Safely
File through the top coat and most of the color without reaching the natural nail. Apply petroleum jelly around the nails to help protect the skin, then place acetone-soaked cotton over each extension and wrap it with foil.
After soaking, test the softened product with a wooden stick. Rewrap stubborn areas instead of scraping.
The American Academy of Dermatology’s gel polish removal guidance also recommends protecting the surrounding skin and avoiding forceful removal.
Wash your hands, moisturize, and let thin or sore nails recover before another set.
Conclusion
Applying soft gel nails at home becomes easier when you slow down during sizing and preparation. Use tips that fit without pressure, keep uncured gel off the skin, remove bubbles before curing, and follow the full curing schedule. Aim for clean placement and comfortable wear. Speed and detailed nail art will improve with practice.
FAQs
How long can you wear soft gel nails?
A well-applied set often lasts two to three weeks. Wear time depends on preparation, product compatibility, nail growth, and daily habits.
Can beginners apply soft gel nails?
Yes. Start with short or medium tips, a thicker adhesive, and a simple color. Pre-shaped tips remove much of the difficult sculpting work.
Can I use regular nail glue?
Some tips allow air-dry nail glue, but that creates a press-on-style application. Use only the attachment method approved by the tip manufacturer.
Why do my soft gel nails lift?
Common causes include remaining cuticle tissue, nail oil, incorrect sizing, smooth contact areas, bubbles, skin contact, and incomplete curing.
Will soft gel nails damage my natural nails?
They can be worn with minimal damage when applied cleanly and soaked off correctly. However, gel may cause irritation or allergy, while filing and peeling can thin the natural nail.